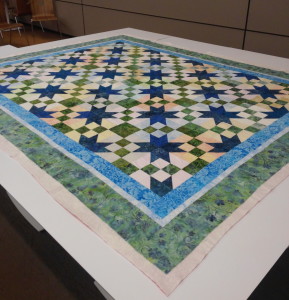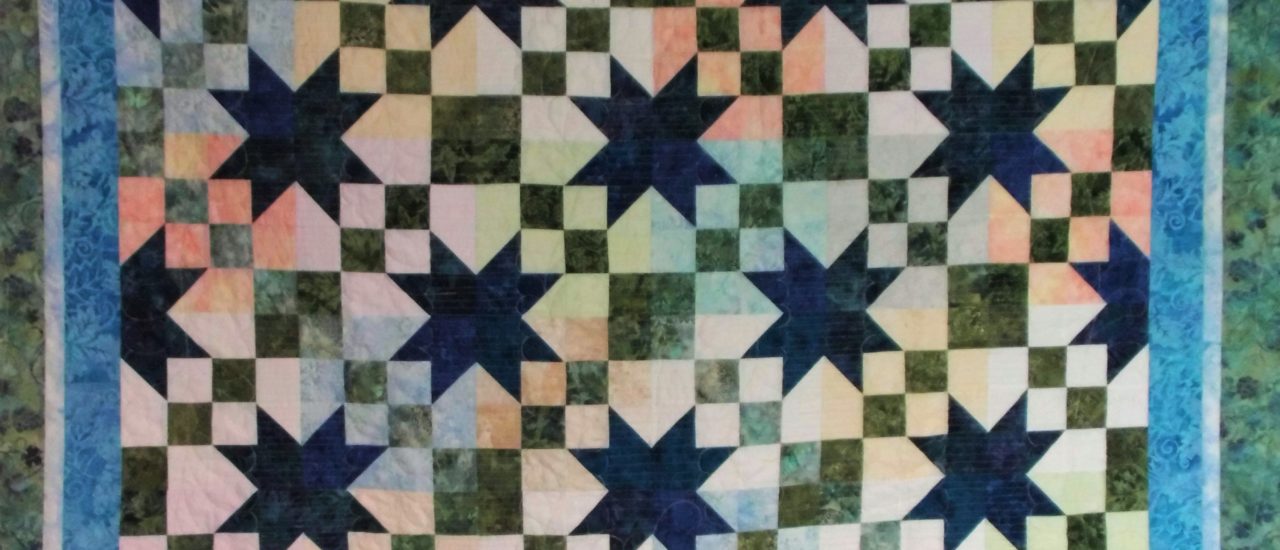
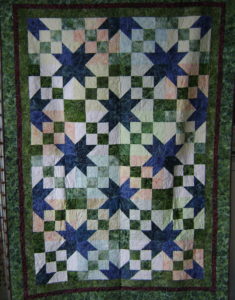
A quilt isn’t finished until it’s signed. And, for me, I only sign my quilt label after I have photographed the quilt. So I would like to present to you now, “Softly Comes the Summer Stars”.
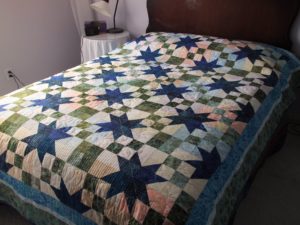
Softly Comes the Summer Stars, 2016
This is actually the 5th quilt in a series that I have made over the last several years.
Inspiration
I first saw this pattern on Craftsy.com. I didn’t buy it, though. This is a fairly simple, traditional pattern – it’s called a “Sawtooth Star”. I don’t like paying someone else just to do the math for me. Besides, calculating the blocks from scratch lets me make the quilt in the size I want, in the colors I want. I am pleased with how this has turned out.
A Series of Quilts
Making a “series” means, in this case, that I cut and sewed enough blocks to make several quilts. And I had plans for all the quilts.
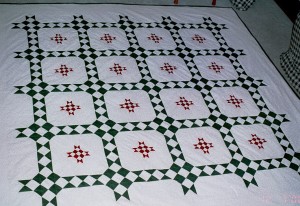
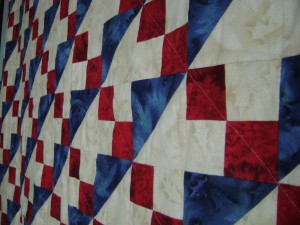
Sawtooth Star I, 2014
Sawtooth Star II, 2014
The first two quilts were twin sized. They have different borders, but are otherwise virtually identical. Both were donated to Quilts of Valor, an organization that benefits service members and veterans who have been touched by war.
In the process of making these blocks and quilts, I realized that the block I was using was the basic block for the traditional, “Road to Oklahoma” quilt pattern.
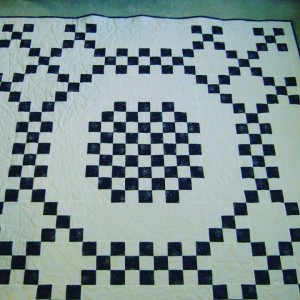
Peter & Melody’s Road, 2014
You can see how adding sashing can really change the look of the pattern! My friends, Peter and Melody, were getting married about this time, so I made this quilt for them. As it happens, they will be hosting me my first night out of Denver on my way to Chicago to drive Route 66! It will be great seeing them and their new baby.

Norma’s Kitty Paw Prints, 2014
The fourth quilt in this series was made for a dear friend. Norma loved cats, so the quilting is an all over design of flowers and paw prints. This quilt was full sized, with no border. At that time, Norma had been diagnosed with cancer – I wanted her to have something she could really wrap around herself. She has since gone to be with Jesus and the quilt was passed to another friend. I really love the idea that my quilts are valued and enjoyed by multiple people.
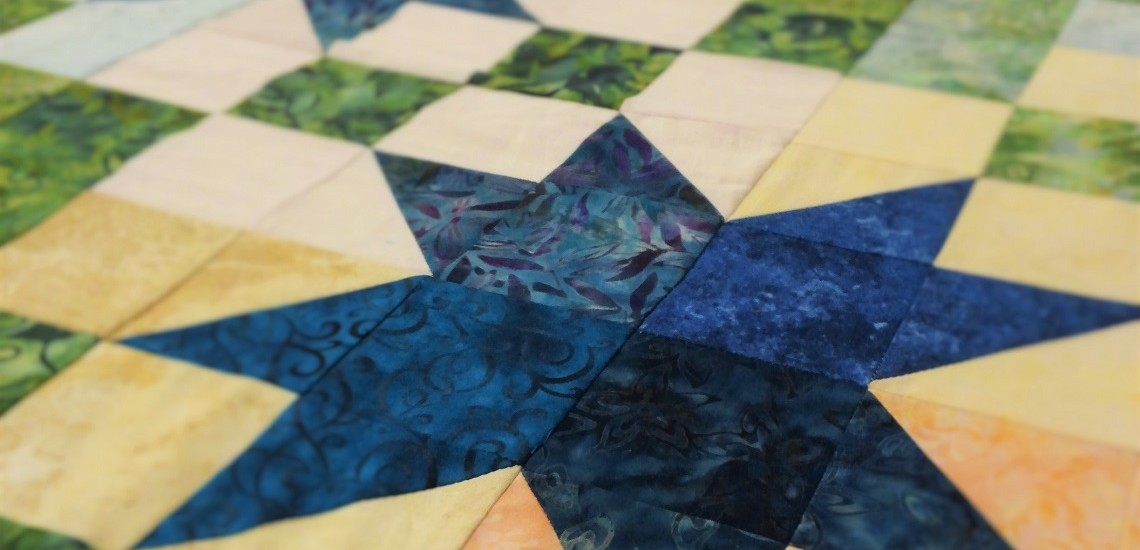
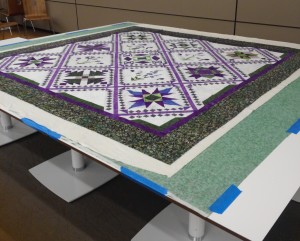
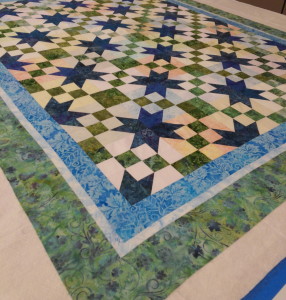
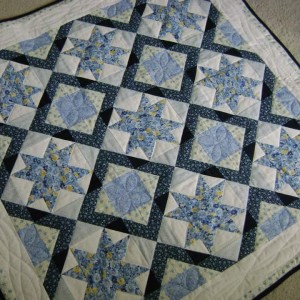
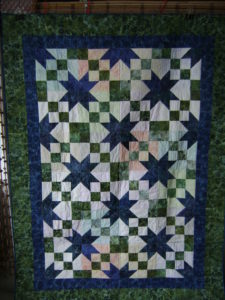
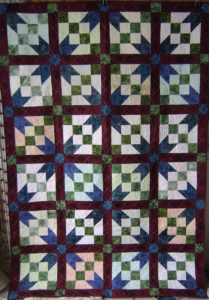
Softly Comes the Summer Stars
And this brings us to the final quilt in this series. This quilt is joining my own collection. Yeah! I get to keep one of my quilts!
The Craftsy pattern was titled “Under the Stars” and has been fairly popular. That means there are LOTS of quilts out there named “Under the Stars”. I had to find a new name. “Softly Comes…” seemed appropriate as Springtime is ushering the changes from winter to summer.
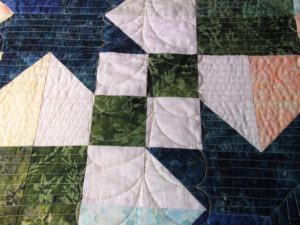
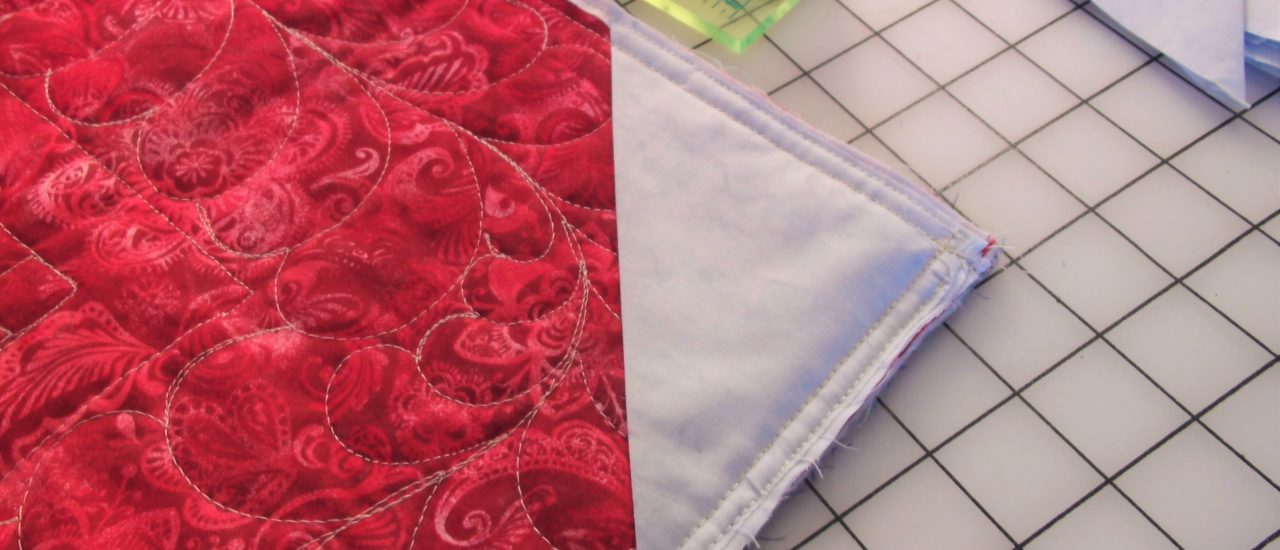
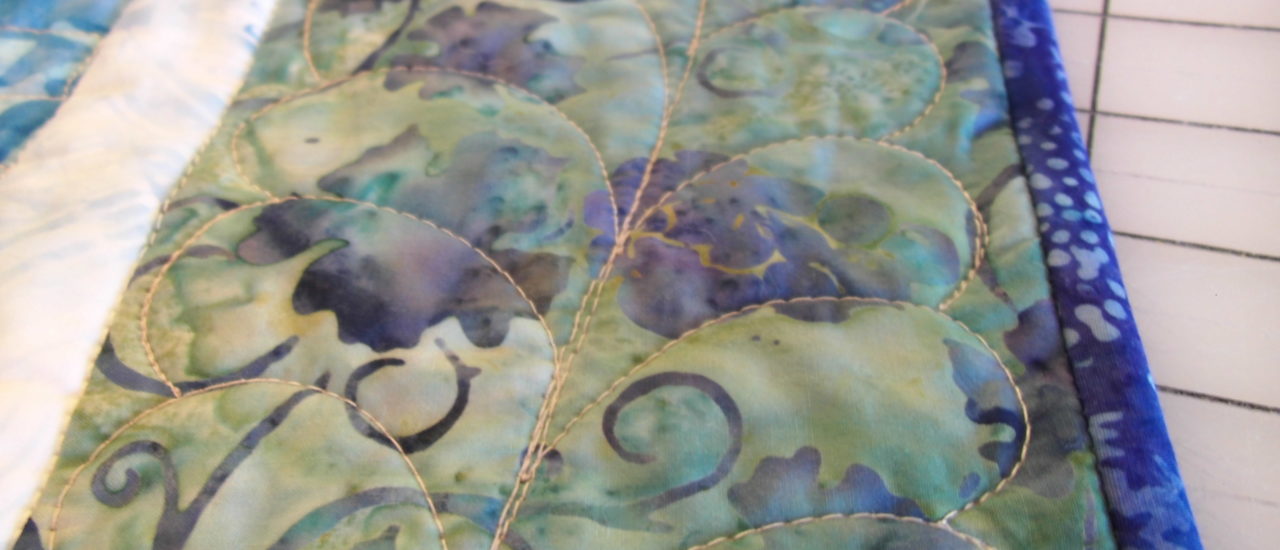
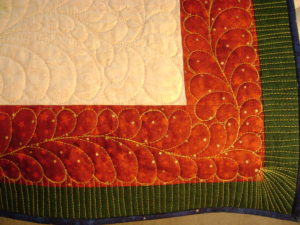
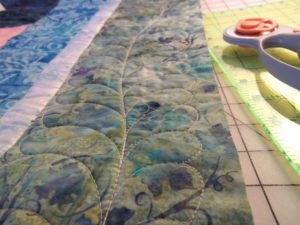
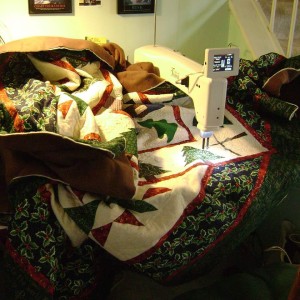
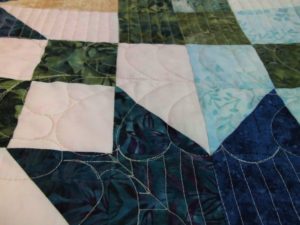
I quilted this with a series of feather “frames” filled with parallel lines. You can read my Tips & Tricks on stitching borders to see more of my border feathers on this quilt.
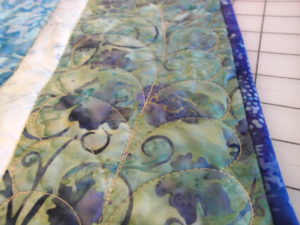
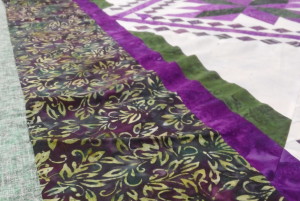
Feathers intact with finished binding
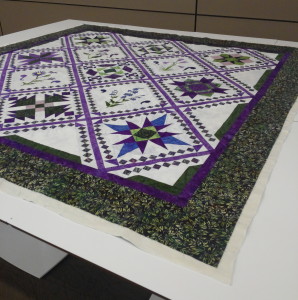
I will soon be driving down Route 66 on an amazing adventure! I am actually bringing my sewing machine along with me. I plan on making blocks along the way to commemorate my trip. Okay, so there’s no guarantee that my sewing machine is taken out of the car at all, but I’ll be prepared anyway! You may recall from my basting post that I have a green/purple quilt ready to be quilted down, too. I have no shortage of projects!
So check back soon to see the latest of what I’m making and baking and all the new sights!