Quilting Tips & Tricks: Quick Labels

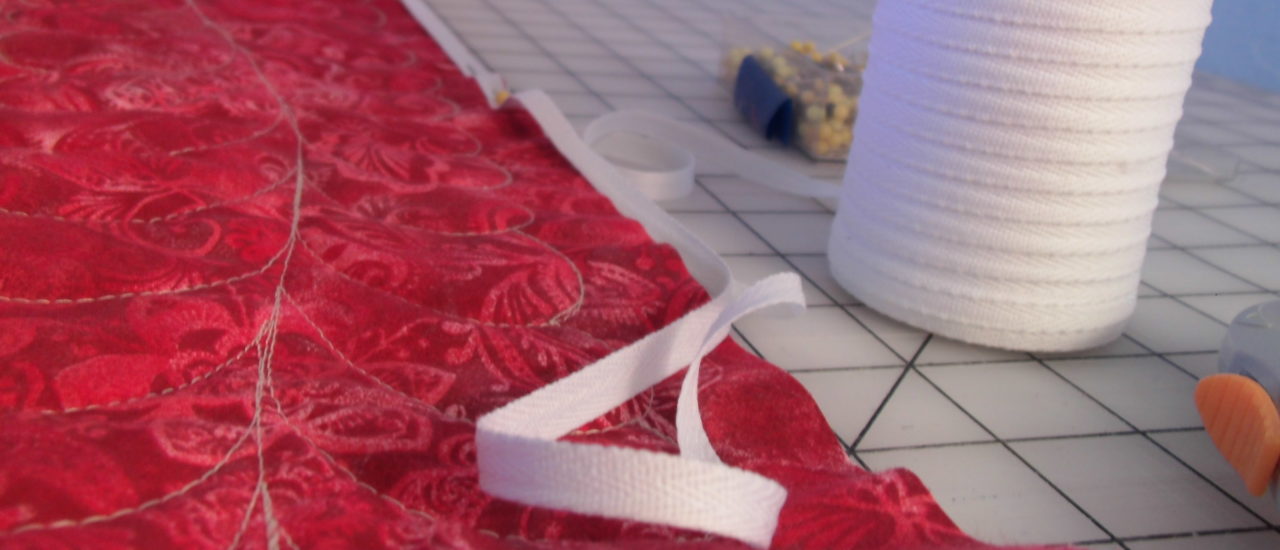
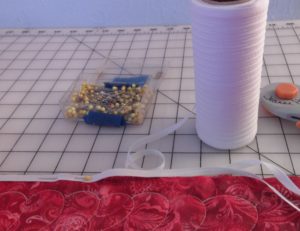
You’ve made your quilt top, basted front to back, quilted it down, trimmed it, and now have completed your binding.  Great job!  But you’re not done yet…

A quilt is not finished until it is labeled and signed!

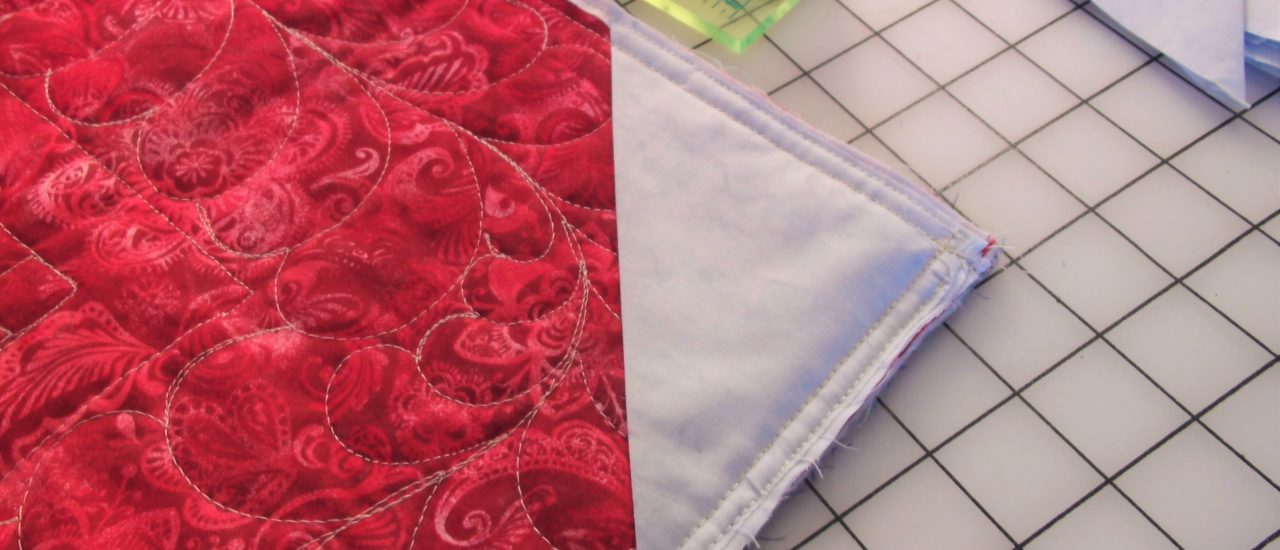
A super easy way to label your quilts is to put in a corner label.

Cut a 5″ square, fold it into a triangle, then sew it into the corner before you attach your binding.  Once the binding is complete (folded over and sewn down), then take a permanent marker and write in the quilt name, your name, date and location.  Add any special detail if you feel it is appropriate – “wool batting”, “made for 50th wedding anniversary”, etc.

Quilt Labels (3)

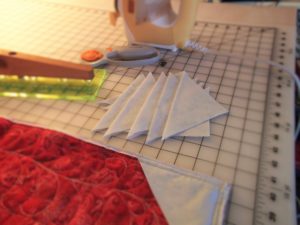
I usually cut a number of 5″ squares and have them ready to go.

NOW you’re finished!

Happy quilting!

Quilting Tips & Tricks: Organize Your Binding

Here’s a quickie tip for you:  keep your binding organized by wrapping it around your old thread cone cores.  I go through a lot of thread, so have quite a few cores laying around.  You don’t have to use the 2500 yard cones, either.  I have lots of 1100 yard cores (they’re cardboard cores, but very sturdy) that I use for holding binding for my smaller projects.  For that matter, you could use anything that let’s you wrap the binding neatly – paper towel cores, flashlight handles, anything!

Happy quilting!

Quilting Tips & Tricks: Stablize Your Edges

You made your quilt top, basted front to back, stitched the fare-thee-well out of your quilt, and trimmed the edges.  Time to add your binding.

I’m betting you, too, have known the heartache of having a perfectly flat quilt top end up with wavy edges because you stretched and pulled too much while adding the binding.  I used to just “stay stitch” around the outside edge to stabilize it.  But this didn’t really do the trick.  And competition judges hate seeing wobbly/wavy edges!

I was in a quilt class taught by David Taylor.  He’s fabulous!  If you have the opportunity, take a class – any class! – from him.  I learned as much from his tips/tricks about quilting as I did about the class topic (which happened to be hand applique).  He pointed out that the way he stabilizes the edges of his quilts is to add 1/4″ twill tape.

Stabilize Edges (3)

add 1/4″ twill tape to your quilt edges

Twill tape is a solid woven strip that does not stretch.  Carefully pin the tape to the edge of your quilt, making sure you do not stretch the edge AT ALL.  When you sew through the middle of the tape, it becomes a reinforcement to the edge of your quilt.  You always pull your quilt edge a fair amount when adding the binding.  This extra step gives your quilts that flat, professional edge that you see on the quilts hanging at shows.

Think about this: if you’re going to sew your binding to the front of the quilt and then fold it to the back, you want to add the twill tape to the back of the quilt.  This way, your binding folds over the tape.  The reverse is also true:  if you intend to sew the binding to the back and fold it to the front, then you’ll want to put the twill tape on the front of the quilt.

I buy my twill tape online in larger quantities.  The little packages would be way too expensive to buy even for a single quilt.  I mean, suppose you have a queen sized quilt, 78 x 98.  That’s almost 10 yards of twill tape for just one quilt.  When I buy an 800 yard spool, that’s enough to last even me a couple years.

Happy quilting!