Presenting: Softly Comes the Summer Stars

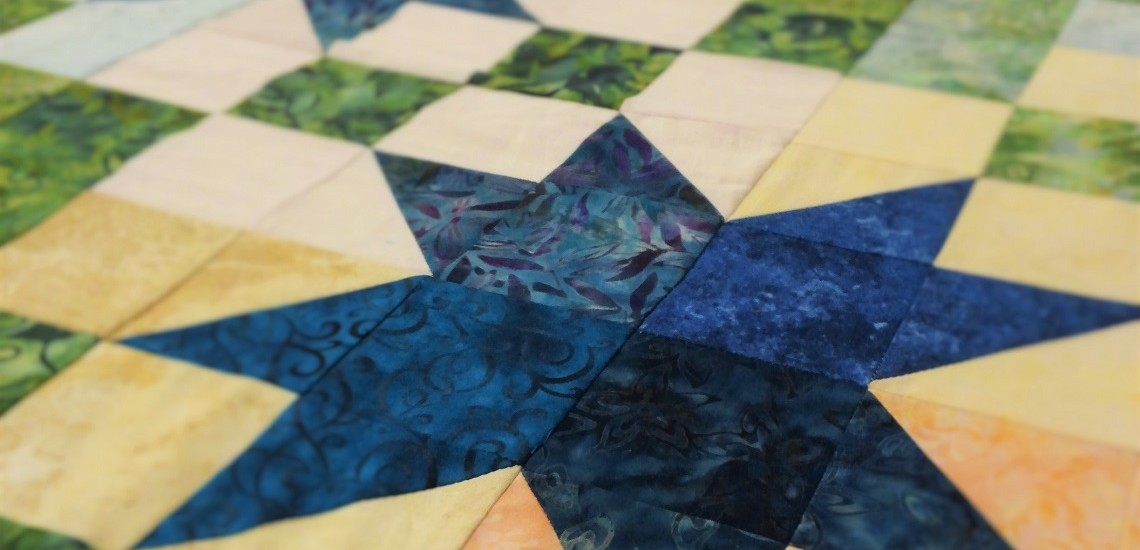
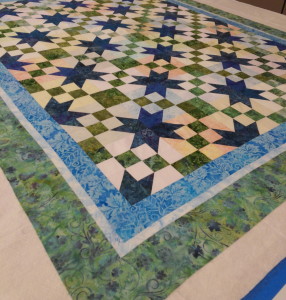
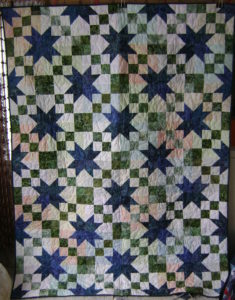
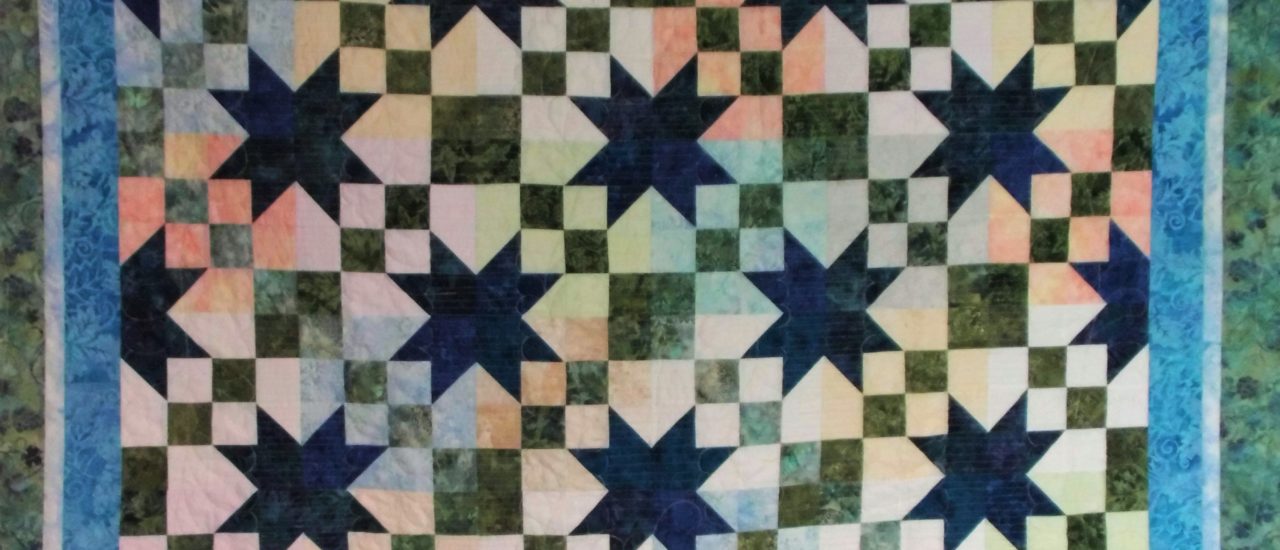
A quilt isn’t finished until it’s signed.  And, for me, I only sign my quilt label after I have photographed the quilt.  So I would like to present to you now, “Softly Comes the Summer Stars”.
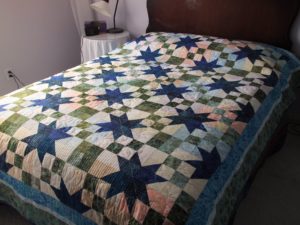
Softly Comes the Summer Stars. 2016

Softly Comes the Summer Stars, 2016

This is actually the 5th quilt in a series that I have made over the last several years.

Inspiration

I first saw this pattern on Craftsy.com.  I didn’t buy it, though.  This is a fairly simple, traditional pattern – it’s called a “Sawtooth Star”.  I don’t like paying someone else just to do the math for me.  Besides, calculating the blocks from scratch lets me make the quilt in the size I want, in the colors I want.  I am pleased with how this has turned out.

A Series of Quilts

Making a “series” means, in this case, that I cut and sewed enough blocks to make several quilts.  And I had plans for all the quilts.
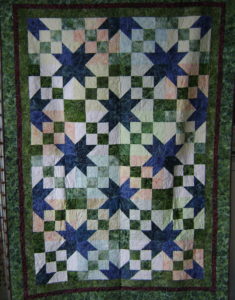
Sawtooth Star I, 2014
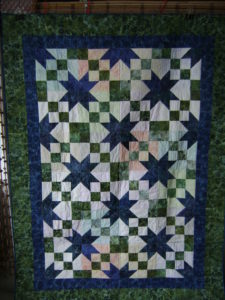
Sawtooth Star I, 2014

Sawtooth Star II, 2014

Sawtooth Star II, 2014

The first two quilts were twin sized.  They have different borders, but are otherwise virtually identical.  Both were donated to Quilts of Valor, an organization that benefits service members and veterans who have been touched by war.

In the process of making these blocks and quilts, I realized that the block I was using was the basic block for the traditional, “Road to Oklahoma” quilt pattern.
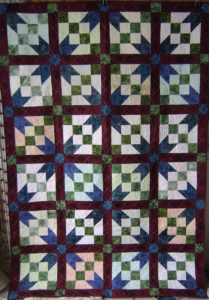
Peter & Melody's Road, 2014

Peter & Melody’s Road, 2014

You can see how adding sashing can really change the look of the pattern!  My friends, Peter and Melody, were getting married about this time, so I made this quilt for them.  As it happens, they will be hosting me my first night out of Denver on my way to Chicago to drive Route 66!  It will be great seeing them and their new baby.
Norma's Kitty Paw Prints, 2014

Norma’s Kitty Paw Prints, 2014

The fourth quilt in this series was made for a dear friend.  Norma loved cats, so the quilting is an all over design of flowers and paw prints.  This quilt was full sized, with no border.  At that time, Norma had been diagnosed with cancer – I wanted her to have something she could really wrap around herself.  She has since gone to be with Jesus and the quilt was passed to another friend.  I really love the idea that my quilts are valued and enjoyed by multiple people.

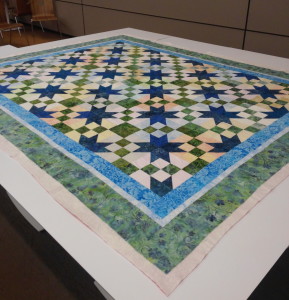
Softly Comes the Summer Stars
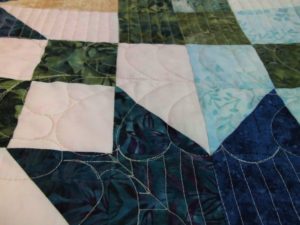
Softly Comes the Summer Stars Apr2016 (5)

And this brings us to the final quilt in this series. This quilt is joining my own collection.  Yeah!  I get to keep one of my quilts!

The Craftsy pattern was titled “Under the Stars” and has been fairly popular.  That means there are LOTS of quilts out there named “Under the Stars”.  I had to find a new name.  “Softly Comes…” seemed appropriate as Springtime is ushering the changes from winter to summer.
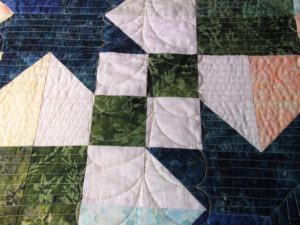
Softly Comes the Summer Stars Apr2016 (3)

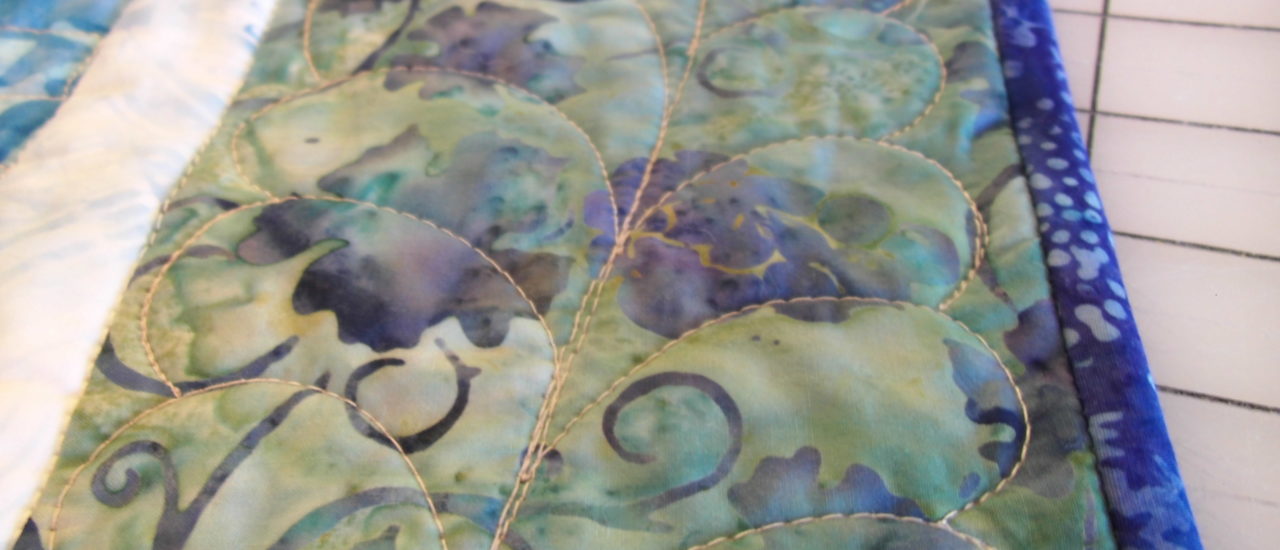
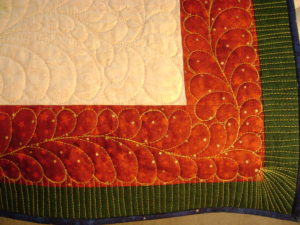
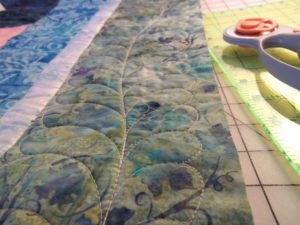
I quilted this with a series of feather “frames” filled with parallel lines.  You can read my Tips & Tricks on stitching borders to see more of my border feathers on this quilt.
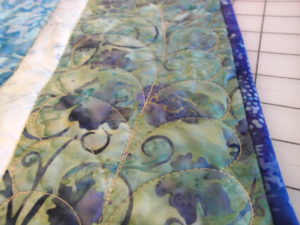
Feathers intact with finished binding

Feathers intact with finished binding

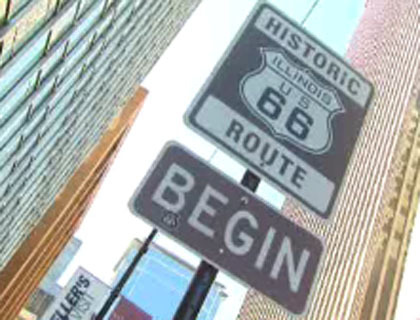
I will soon be driving down Route 66 on an amazing adventure!  I am actually bringing my sewing machine along with me.  I plan on making blocks along the way to commemorate my trip.  Okay, so there’s no guarantee that my sewing machine is taken out of the car at all, but I’ll be prepared anyway!  You may recall from my basting post that I have a green/purple quilt ready to be quilted down, too.  I have no shortage of projects!

So check back soon to see the latest of what I’m making and baking and all the new sights!
The Art of the Chewy Chocolate Chip Cookie

When I told a friend I was writing a post about making chocolate chip cookies, she commented, “Why bother?  My mom always just used the recipe on the side of the bag.”  And, certainly, if you do a search on “chocolate chip cookie recipes” you’ll find more recipes that you could make in a lifetime, all claiming to be the very best!

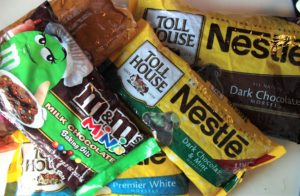
nestle choc chipsIf you click on this picture, you’ll be taken to the “Original Tollhouse Chocolate Chip Cookie” recipe by Nestle.  Okay, everyone raise your hand if your mom’s recipe box included the recipe cut off the back of the bag, but your mom used the cheaper, generic chocolate chips.  These days we can just google for a recipe – but it never seems quite the same.  That’s okay – my purpose in writing this today is to give you a few insights on making your cookies a little chewier and tastier, just like Mom’s.

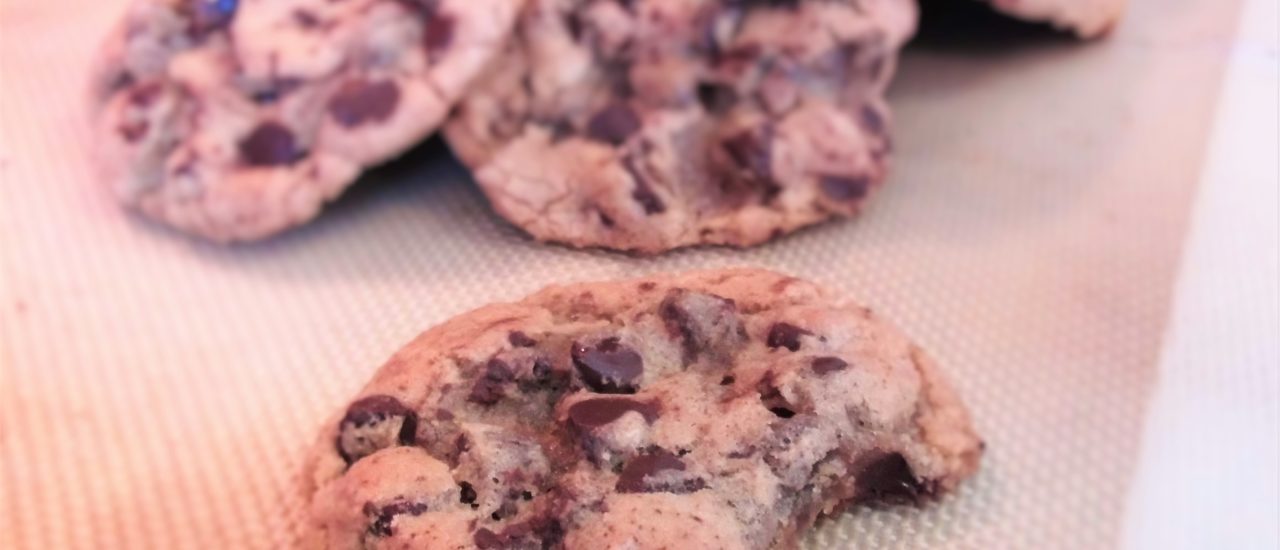
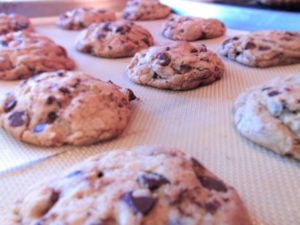
chocolate chip cookies

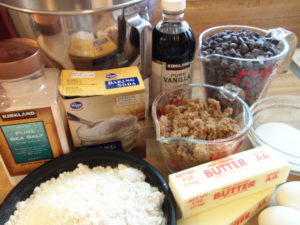
Let’s assemble all our ingredients!  Or, if you have a really small kitchen like mine, just clear the counter around your mixer so you have room to work.
A cook is only as good as her ingredients.

Make sure all your ingredients are fresh.  I tend to bake in phases – I might go months without baking anything.  But when the holidays roll around, you know you’ll find me shifting through my cookbooks to find the perfect cookies for that season.  At that point, I’ll be checking the expiration dates on baking soda and baking powder (which has a relatively short shelf life), and always buying fresh flour.  A lot of these ingredients are not very expensive – when in doubt, throw it out.

butter and eggs

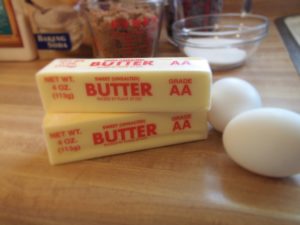
I have no particular preference for salted vs unsalted butter.  This recipe is not so sensitive that the salt in a stick of butter will cause it to fall apart.  What is important is that you melt the butter before creaming it with the sugars.  Some folks will tell you to avoid melting in the microwave, but I haven’t had problems.  Whether it’s melted on stovetop or in the microwave, use liquid butter in this recipe.

Eggs vs egg yolks…

What makes this recipe a little chewier and moister is

  1. There is more brown sugar than white, and
  2. We threw in an extra egg yolk.  Egg whites will add a certain stiffness.  Yolks add chewiness.

Now you know.

PICT0039

This is not a Nestle commercial!  These are just the chocolate chips I happen to have in my cupboard at the moment – they were on sale.  You can use any chocolate chips in your cookies – dark, white, M&M’s, caramel, butterscotch.  Go for it!  Use a mix of different flavors.  And use plenty of chips!  If your bag is slightly more than what you need according to the recipe – use the whole bag!
Don’t be a skimpy chipper! 

Chocolate Chip Cookie Dough (1)

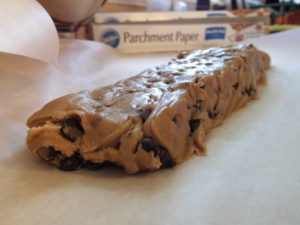
Mixing the rest of the dough is fairly straightforward.  Once it’s all together, it’ll be thick and sticky.  Drop a third or a half of the dough onto a section of wax paper and shape it into a log.  Okay, I know, the picture has parchment paper!  That works, too.  I think waxed paper releases the chilled dough a little easier.  Use whichever you have on hand.  The key is to have this log of dough wrapped well and put in the fridge for 2-3 hours.  Overnight, if you want.

Chocolate Chip Cookies Apr2016 (2)

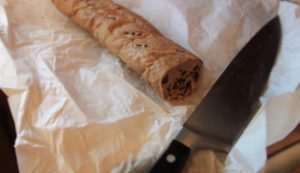
Next up you’ll cut your chilled log into sections.

Chocolate Chip Cookies Apr2016 (11)

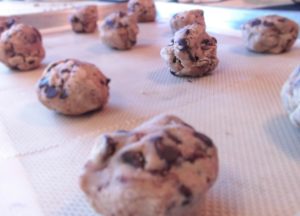
Shape them into balls and space them out on the cookie sheet/pan.  I like to use a silicone baking sheet on my pans – makes cleanup a little easier.  Or you can use parchment paper (not wax paper!).  Or just bake on an ungreased sheet/pan.

Chocolate Chip Cookies Apr2016 (15)

Yes, my friends – these are chewy, puffy chocolate chip cookies baked at altitude, in the Mile High City!  It can be done!

“…Every time she puts another batch in the oven

There’s 15 minutes for some kissin’ and a-huggin’…”

— George Straight

Happy baking!

Mile High Chewy Chocolate Chip Cookies
Print Recipe
These cookies are so chewy and delicious - and easy to make - they will become the staple in your cookie exchange! Best yet, this recipe is already adjusted for high altitude baking. So break out the shoe box, line it with wax paper, and get ready to fill it to the brim!
Servings Prep Time
2-3 dozen 15 minutes
Cook Time Passive Time
12 minutes 3 hours
Servings Prep Time
2-3 dozen 15 minutes
Cook Time Passive Time
12 minutes 3 hours
Ingredients
Servings: dozen
Instructions
Mix the dough
  1. Cream the butter and sugars together.
  2. Sift together dry ingredients in a bowl - set to one side.
  3. Add wet ingredients to the sugar/butter.
  4. Add dry ingredients one cup at a time.
  5. Add chocolate chips.
  6. Roll in wax paper and chill in the fridge.
Bake Cookies
  1. Pre-heat oven to 375°.
  2. Roll dough into balls on an ungreased cookie sheet.
  3. Bake 10-12 minutes. Don't over bake!
Recipe Notes

Credit where credit is due:  this recipe is a variation on Alton Brown's "The Chewy".

Share this Recipe

Route 66 – Road Trip Food

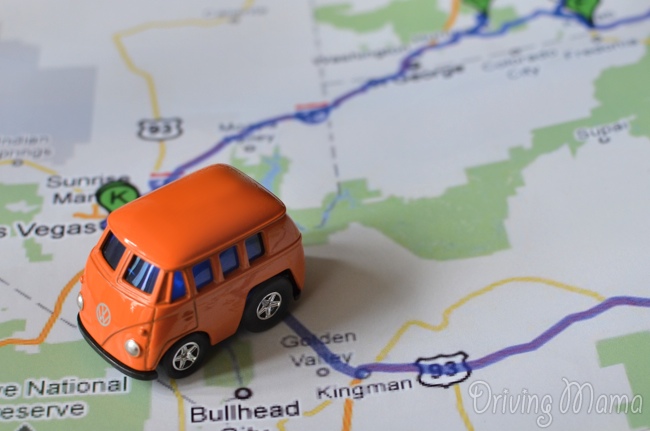
(Cover photo borrowed from DrivingMamas.com)

We are getting closer and closer to my GRAND ADVENTURE driving down Route 66.  And something that every Road Trip needs is Road Trip Food!

When I was little, our family would go on road trips from Los Angeles to Nebraska or to Minnesota.  Being the youngest, I always got the middle of the back seat between my two brothers.  Mom always brought veggies and apples and oranges – but I always loved the green seedless grapes!  We only had a smallish cooler, and that was needed for the sandwich fixin’s, so our soda pop was usually warm.  But the fruit was tasty!

Fruits-and-Veggies

So the first and most important road trip food are the snack packs that God provided!  And they all seem to come in convenient serving sized packages.

Yes, I know, you may be thinking that this is the time to break out the candy and cookies!  No!  It’s not!  That sugary food will only cause you to get more tired as you drive and you’ll be less able to enjoy the wonderful world around you.  So reach for the natural energy boosters!

For me, I reached out to my blogging community and asked for more ideas of healthy snacks for the road.  Here are the suggestions – in no particular order.  The last is as tasty as the first!  Thanks to all my friends for providing these recipes!

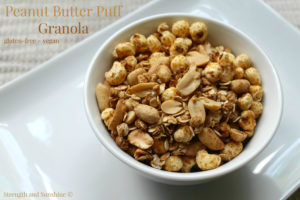
Peanut-Butter-Puff-Granola-1.1

Peanut Butter Puff Granola from StrengthandSunshine.com

oatmealcookie

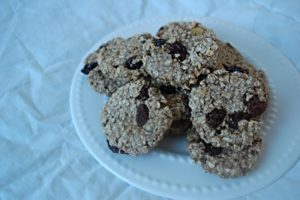
Healthy Oatmeal Cookies from Anagoesfit.com

rsz_cranberryalmondgranola3

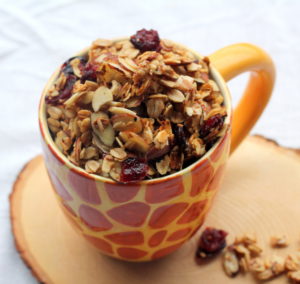
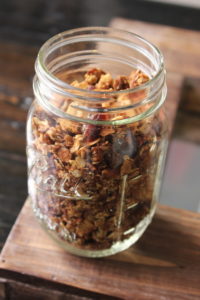
Cranberry Almond Stovetop Granola from FoodPleasureandHealth.com

IMG_2351

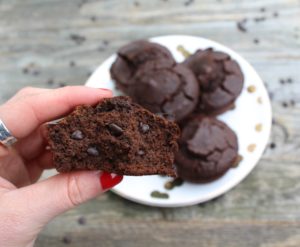
Healthy Mocha Brownies from TheCleanEatingCouple.com

chocolate-cherry-larabar-bites-spilling-out-of-ball-jar

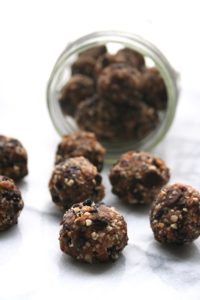
Chocolate Cherry Larabar Bites from HungryByNature.com

HealthyChocolatePeanutButterEnergyBalls2-1024x769

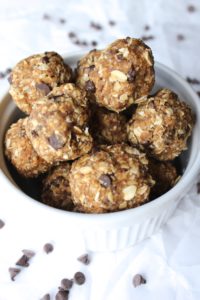
Healthy Chocolate Peanut Butter Energy Balls from AFitPhilosophy.com

6ingredient energy balls

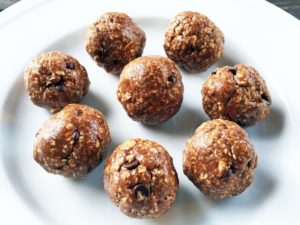
6 Ingredient No Bake Energy Balls from PumpkinandPeanutButter.com

strawberry protein bars

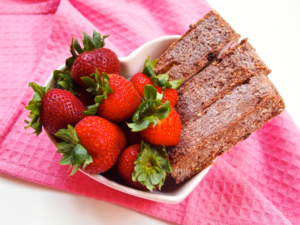
Chocolate Covered Strawberry Protein Bars from HealthyHelperBlog.com

Salted-Caramel-Cashew-Bars4-copy

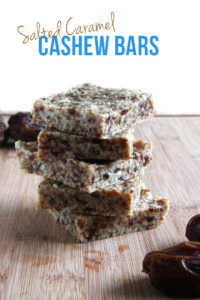
Salted Caramel Cashew Bars from 24CarrotLife.com

Cocnut homemade granola

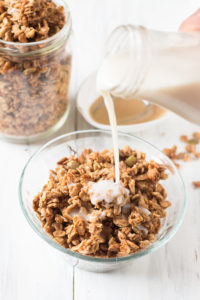
Coconut Homemade Granola from BerriesandBasil.com.

cranberry walnut energy bites

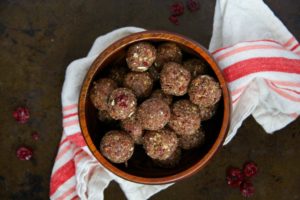
Cranberry Walnut Energy Bites from EmmasLittleKitchen.com

choc trail mix power balls

Chocolate Trail Mix Power Bars from YoungandRungry.com

coconut-tahini-granola5

Coconut Maple Tahini Granola from ExSloth.com

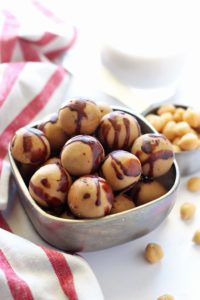
Chocolate_Covered_Chickpea_Protein_Balls_4_edit

Chocolate Covered Chickpea Protein Balls from EmilieEats.com

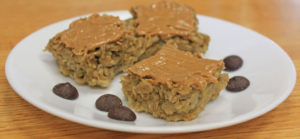
banana-oat-bars-with-peanut-butter-and-chocolate

Banana Oat Bars from FoodParsed.com

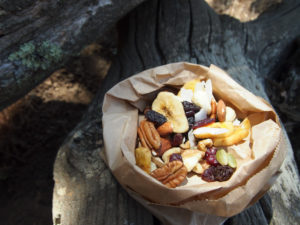
grant ranch trail mix

Grant Trail Mix from VermilionRoots.com.

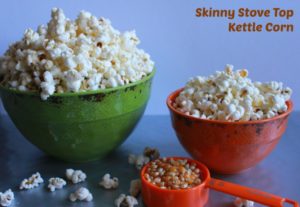
kettle corn

Skinny Stove Top Kettle Corn from EnticingHealthyEating.com

Happy Snacking!

Quilting Tips & Tricks: Quick Labels

You’ve made your quilt top, basted front to back, quilted it down, trimmed it, and now have completed your binding.  Great job!  But you’re not done yet…

A quilt is not finished until it is labeled and signed!

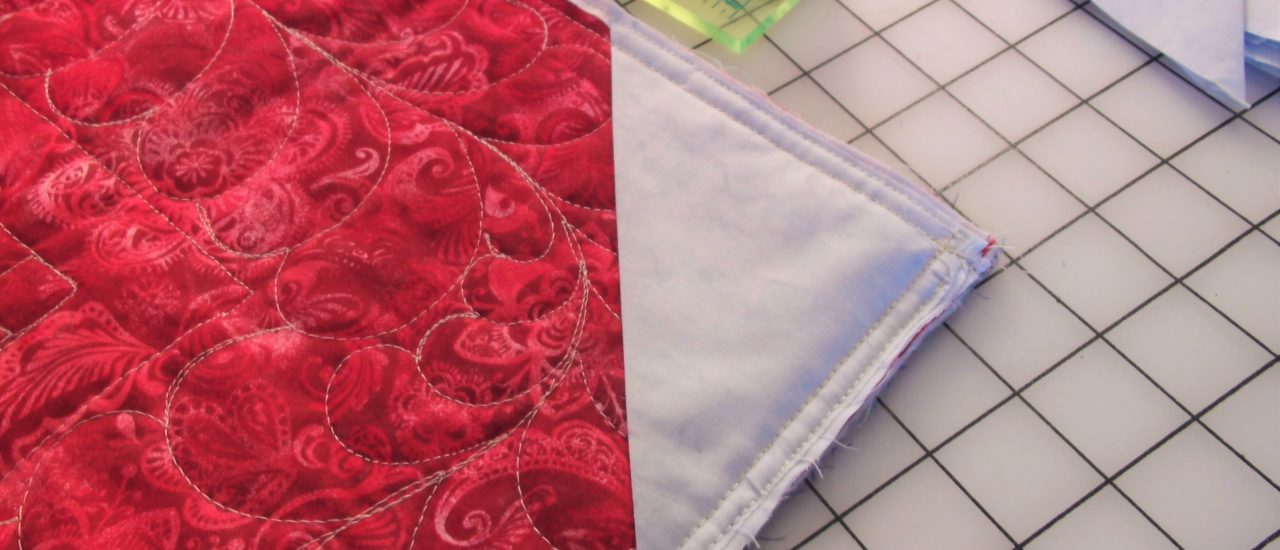
A super easy way to label your quilts is to put in a corner label.

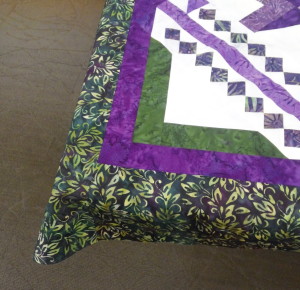
Cut a 5″ square, fold it into a triangle, then sew it into the corner before you attach your binding.  Once the binding is complete (folded over and sewn down), then take a permanent marker and write in the quilt name, your name, date and location.  Add any special detail if you feel it is appropriate – “wool batting”, “made for 50th wedding anniversary”, etc.

Quilt Labels (3)

I usually cut a number of 5″ squares and have them ready to go.

NOW you’re finished!

Happy quilting!

Quilting Tips & Tricks: Organize Your Binding

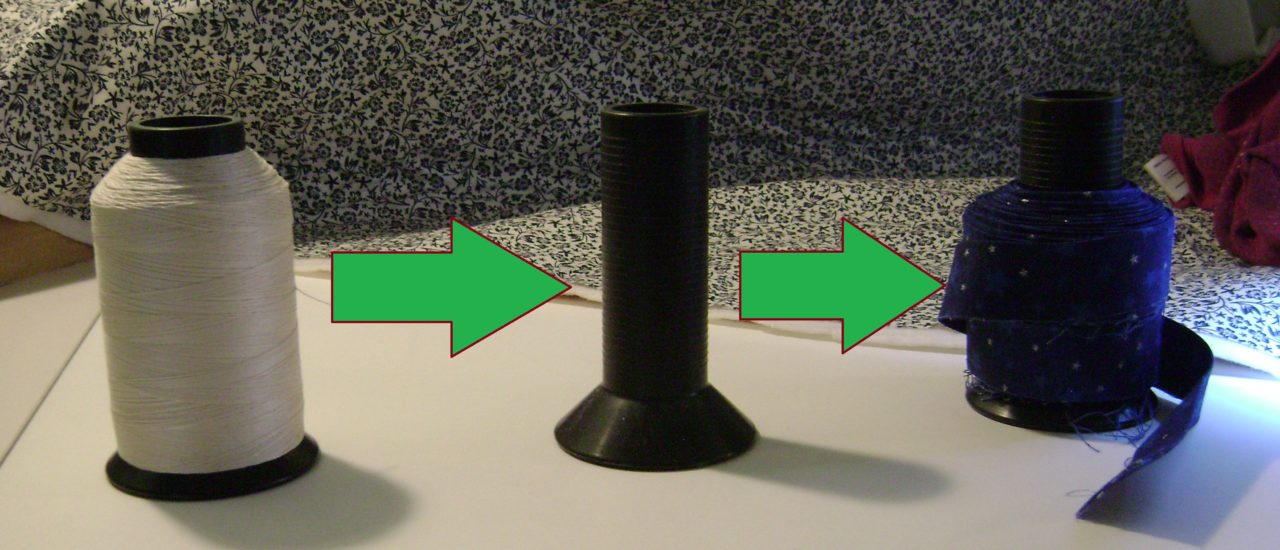
Here’s a quickie tip for you:  keep your binding organized by wrapping it around your old thread cone cores.  I go through a lot of thread, so have quite a few cores laying around.  You don’t have to use the 2500 yard cones, either.  I have lots of 1100 yard cores (they’re cardboard cores, but very sturdy) that I use for holding binding for my smaller projects.  For that matter, you could use anything that let’s you wrap the binding neatly – paper towel cores, flashlight handles, anything!

Happy quilting!

Quilting Tips & Tricks: Stablize Your Edges

You made your quilt top, basted front to back, stitched the fare-thee-well out of your quilt, and trimmed the edges.  Time to add your binding.

I’m betting you, too, have known the heartache of having a perfectly flat quilt top end up with wavy edges because you stretched and pulled too much while adding the binding.  I used to just “stay stitch” around the outside edge to stabilize it.  But this didn’t really do the trick.  And competition judges hate seeing wobbly/wavy edges!

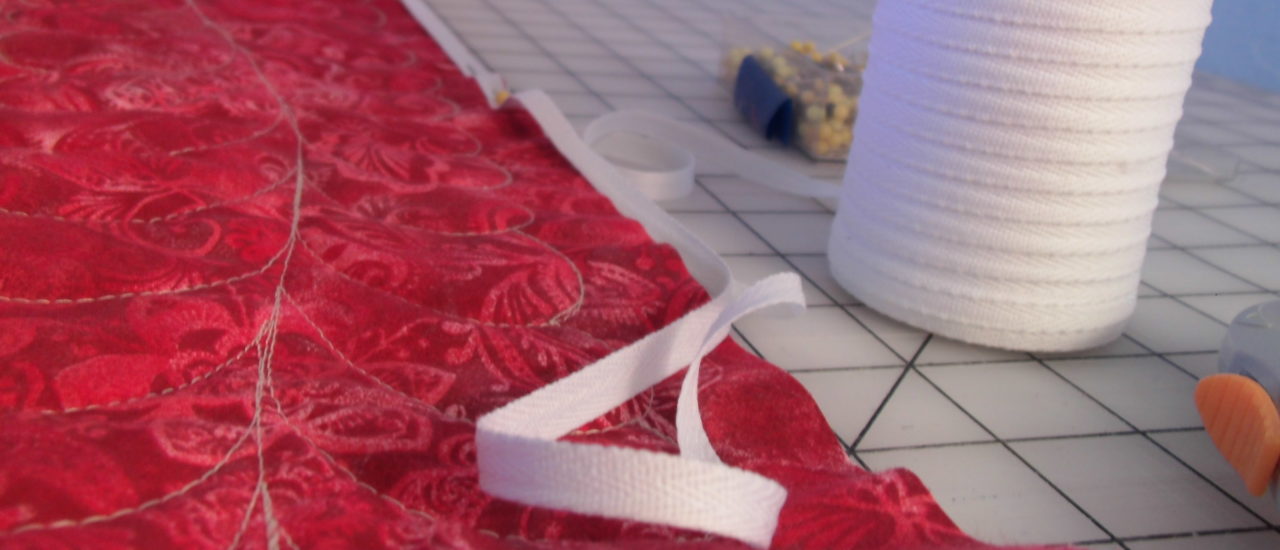
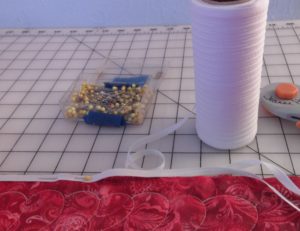
I was in a quilt class taught by David Taylor.  He’s fabulous!  If you have the opportunity, take a class – any class! – from him.  I learned as much from his tips/tricks about quilting as I did about the class topic (which happened to be hand applique).  He pointed out that the way he stabilizes the edges of his quilts is to add 1/4″ twill tape.

Stabilize Edges (3)

add 1/4″ twill tape to your quilt edges

Twill tape is a solid woven strip that does not stretch.  Carefully pin the tape to the edge of your quilt, making sure you do not stretch the edge AT ALL.  When you sew through the middle of the tape, it becomes a reinforcement to the edge of your quilt.  You always pull your quilt edge a fair amount when adding the binding.  This extra step gives your quilts that flat, professional edge that you see on the quilts hanging at shows.

Think about this: if you’re going to sew your binding to the front of the quilt and then fold it to the back, you want to add the twill tape to the back of the quilt.  This way, your binding folds over the tape.  The reverse is also true:  if you intend to sew the binding to the back and fold it to the front, then you’ll want to put the twill tape on the front of the quilt.

I buy my twill tape online in larger quantities.  The little packages would be way too expensive to buy even for a single quilt.  I mean, suppose you have a queen sized quilt, 78 x 98.  That’s almost 10 yards of twill tape for just one quilt.  When I buy an 800 yard spool, that’s enough to last even me a couple years.

Happy quilting!

Quilting Tips & Tricks: Stitching the Borders

So you made your quilt top, you basted it front to back, and you have quilted down the body of the quilt.  Good job!  Finish quilting those borders and you can move on to trimming and binding!

Whether you quilt for competition, or you just want a quilt that really stands out, you are likely working on customized quilting designs.  Some designs are easy to just quilt all over the quilt and through the border.  And then you’ve got your highly customized designs where the border has its own customization.

Christmas Pinwheel Dec 2014 (9)

Christmas Pinwheel, 2014

I love quilted feathers!  This quilt has special quilting motifs in every section across the entire piece.  By the time I finished the rolling feather in the red border, I was tired of quilting and ready to be done with it!  I was going to leave the green border empty, but it looked unfinished.  So I decided to fill the outer border with a design that could easily flow into the binding.

But suppose you want to put feathers or some other design in your outer border?  You don’t want the edges of the feathers to be cut off by the binding.  What is the best way to mark/measure your quilt top so that your design fills the space without running the risk of flowing into the binding?

Quilting Borders (4)

1/2″ masking tape on the edge to guide quilting

I put 1/2″ masking tape all around the edge of the quilt.  I can sew my design right up to the edge of the tape.  I know that when I trim the quilted top, I won’t take off more than a 1/4″.  And then I want to allow a 1/4″ for the binding.  So a 1/2″ masking tape is perfect!

Quilting Borders (9)

quilt trimmed and my feather has plenty of room

You can see that there is ample room for the binding and no risk of clipping the curves off my feathers.

Feathers intact with finished binding

Feathers intact with finished binding

So don’t avoid those specialized border quilting designs.  And don’t worry about a bunch of math or trying to mark your top.  The masking tape goes on easily and comes off quickly.

You’re close to finishing your quilt!

By the way – quilt judges love customized quilt designs.  Just sayin’.

Route 66: 7 Things to Pack, or Leave Behind

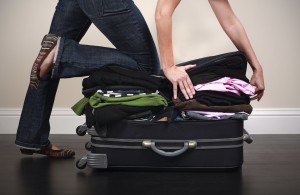
There’s something about packing for a trip – even an overnighter – that I really enjoy.  It’s a challenge to balance what you need with what you might need, with what you just plain want to have along.  So, being a resident of the US, here are my suggestions for what you should bring, or leave behind, on your trip down Route 66.

I’m actually writing this mostly for the benefit of any neighbors who will be visiting from other countries.  My fellow Americans will probably read through this and give me a big, “Duh!”  (That’s American for, “That’s so obvious, why do you even mention it?”)  But having traveled through the UK, France, Jamaica and Africa, plus countless road trips across the US, I may have a few observations that could be helpful for folks visiting the US for the first time.

borrowed from lostintransit.org

photo borrowed from lostintransit.org

1. Keep some perspective

First of all, keep in mind that you are not visiting a 3rd world country.  The US has anything you could possibly need – and quite a few things you had no idea existed.  Granted, you may be coming from the UK and you know for a fact that nowhere in the US is your preferred brand of biscuit.  I promise, you’ll survive.  But as you pack, relax!  You’re going on vacation.  If you forget your toothbrush or batteries or the special electric plug converter combo set that you bought especially for this trip – don’t worry about it.  It’ll all work out.

At the end of the day, all you really need is

your identification, your credit card, and your spirit of adventure.

 2. Don’t take what you can’t bear to lose

In the movie, “The Accidental Tourist“, the main character suggests that when traveling, never pack anything that cannot be left behind in an emergency.  This is not bad advice.  It goes along with keeping your perspective.  Accidents will happen, luggage may be lost, or anything else could happen that may cause you to lose the items you brought along.  Hopefully, if you were to lose your luggage, you can treat it as an annoyance rather than a heartbreak.


adventure is out there

 3. Personal Necessities

Even allowing that you can get virtually anything in the US that you have back home, there are still some things which need to be brought along.  I’m thinking about your prescription medicine, special vitamins, or even your favorite skin lotion.  Medicines, in particular, are highly regulated in the US and may be very difficult to obtain.

When flying, always carry your prescription medication in your carry-on.

As you go through your morning and evening routines, take note of the sundries you use.  From your hairbrush to your toothbrush, your makeup, your morning meds and vitamins – consider carefully what you use each day.  You’ll want to pack these.

And consider items like reading glasses and sunglasses – bring an extra pair.  Put one set in your carry on, the other in your suitcase.

 4. Clothing for Route 66

It was in May, 2008 that I visited Zambia, Africa.  They had just finished their hot, wet season and I was coming from our cold, wet season.  That is, they’d had up to 120 degree weather (48 Celsius) and I’d had freezing 20 degree (-6 Celsius) weather.  As you can imagine, I was really enjoying the warm mornings at about 75 degrees (24 Celsius).  One of the ladies who worked at the orphanage came around in a heavy sweater, concerned that I might be cold in my sleeveless shirt.

“You didn’t know it would be this cold in Africa, did you?” she asked.

So every place is relative when you start talking about hot weather and cold weather.  When you drive the length of Route 66, you are crossing 3 time zones and numerous weather climates.  This Route 66 site has some pretty neat info on weather along the Route.  Depending on the time of year, you could go from cold and rainy to hot and dry in the space of a day.  You need to have appropriate clothes for all possibilities.

Chances are that you aren’t driving the route in the winter, so you don’t need to haul along the cold weather gear.  But if you’re from a very warm region, then the cooler temperatures on some parts of the drive may be uncomfortable for you.  The opposite is also true: if you come from a cooler clime, the dessert heat may hit you like a hammer.  Plus, rain can be expected all year.

The answer?  Layers!  Have a couple light-weight outfits for warm weather, with some overshirts, and a light jacket or sweater.  Bring along a cheap, plastic rain poncho – like you’d use for camping – and plan on throwing it away when the trip is done.  Comfortable shoes are a must!  But you’re not going to a fashion show – minimize the footwear.

We’re pretty casual in the US, and we don’t expect travelers to dress formally. 

Still, you may want to have one “Sunday-go-to-meetin'” outfit.

Personally, I am going to pack about a week’s worth of clothing for my 3 week drive.  Almost every town will have a laundromat available – most motels will likely have washing machines and dryers that you can use for a small price, or possibly a laundry service.  Airline luggage weight limits are crazy these days!  Pack as little as you can for the trip out so that you have room for your treasures on the way home.

 5. Practical Stuff

On a long road trip, there are certain things you need to keep in the car as a matter of necessity:

  1. A case of water – doesn’t have to be chilled, but have water (not just soda) in case you get stranded or come across a stranded motorist who needs water.
  2. Toilet Paper – there are plenty of rest stops on the road.  They aren’t all stocked well with toilet paper.  Just sayin’.
  3. A warm blanket – the nights get cool in the desert.
  4. First Aid Kit – doesn’t have to be elaborate, but have some bandaids and antiseptic on hand.
  5. Contacts – have a friend back home that you text or email every day to let them know where you are, where you’ve been.  This is especially important if you are traveling alone.  If you don’t check in, your friend will know to make inquiries.

 6. Electronics

We have lots of electronics nowadays.  These days we have electronic devices to help us manage our electronic devices.  Laptop, iPod, iPhone/Android, kindle, cameras… There is so much that we use on a daily basis.  But let’s consider a couple things:

Are these really necessary?  If I were leaving the country, I’d leave my laptop and ipod at home.  I’m visiting a new place, seeing new sights, meeting new people!  Most electronics will distract me and separate me from the experience.  An “I”-pod is not a “we”-pod – it doesn’t make new friendships with others.  And unless your cell phone is your camera, you’re on vacation!  Put the phone away.  Reconnect with the human race.

I will give one caveat here: bring the cell phone, but pack it away.  Better yet, leave your fancy cell phone at home and buy a “burner phone” when you arrive.  It’s cheap, it works on the local mobile system, and you can throw it away at the end of your trip.  If you break down on the road, get lost, have trouble of any sort – you’ll want to have a cell phone for easy communications.

What if these things are lost?  Remember the rule above – don’t take what you can’t bear to lose.  I’ll be backing up my computer and cell phone before I leave home.  If I lose the electronics, at least I won’t lose the data.

So why am I bringing it?  I plan on blogging frequently while I’m on the road (shameless plug to get you to visit me again!) and I’ll be downloading my pictures daily.  My car is 15 years old (seriously!  15 years old!) and doesn’t have a great radio, so I plug in my ipod to listen to my tunes while I’m driving.  (Yes, I am that person who rolls down the windows and sings along with the music at the top of my lungs.)  And, finally, reading my kindle at night helps me relax before going to sleep.  So I have enough excuses to warrant bringing all this stuff with me.

attitude ordeal adventure II

 7. An Attitude for Adventure

I’ve had folks tell me some pretty harrowing stories about events that happened on road trips – from flat tires, to flash floods, to getting lost and finding yourself in a town that you are pretty sure breeds serial killers.  But none of that has ever happened to me.  Well, I’ve had flat tires – and gotten to meet some really nice people who pulled over to help me!  And, well, I was in a flash flood once – which made for a great story at the next family dinner!  But I’ve never gotten lost.  Well, except for that time I missed the interstate and decided to drive back roads across two states and got to see some of the most beautiful country God has placed on this earth!

Route 66 is a Grand Adventure!  This is the road trip to end all road trips!  Let go of all your preconceived notions and just let the experience happen.  I’m looking forward to telling you all about the amazing people and places as I wander through my favorite country in the world!

See you soon!


Basting Your Quilt Top

Today we are talking about basting your quilt.  What does this mean?  Once you have your quilt top complete, you want to layer it with the batting and backing in such a way that you are able to keep the layers from shifting while you quilt it down.  We call this the quilt sandwich.

There are any number of ways to keep your sandwich from shifting.  For some smaller pieces, you may not need to do any basting at all – just layer it up and start quilting from the middle out.  Early in my quilting, I used to use safety pins.  If you do a google search on basting methods, you’ll see quite a few different methods available.

My preference is to use basting spray.

I have a spray that I tend to buy as much as possible whenever it goes on sale, 2-3 times a year.  It’s not unusual to see 20 cans on my shelf – I’ll use them all in the course of a year!  I make that many quilts.  Different people are very loyal to specific brands.  I am loyal to my budget.

What you’ll need:

  1. Top, batting and backing, ready for layering
  2. A place to lay your quilt out flat – well ventilated!
  3. Masking tape
  4. 1-2 cans basting spray (depending on the size of can and size of quilt)
  5. Scissors

Top, batting and backing – ready for layering

Make sure your quilt top is pressed and completed.  Remove as many loose threads as you can while you are ironing.

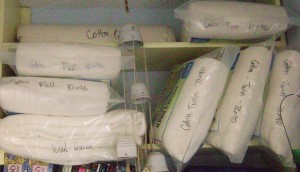
A shelf of packaged batting.

I’m partial to cotton batts.  They are a little more expensive than polyester, but they breathe better than poly and I can iron my completed quilt (to remove fold lines).  Never iron a quilt with a polyester batt – you’ll melt the batting.  There is a “fusible batt” available which is the exception to this, but I found the fusible batt to be more bother than help, so I don’t use it.  Depending on what you are accomplishing in your quilt, there are also wool batts, silk batts, and various mixes of cotton/wool/silk/poly.

I have used bamboo batting – I love how soft it is and it’s easy to work with.  But I have since learned that the process to make tough bamboo fibers into soft fabric/batting is very eco-UNfriendly.  Lots of nasty chemical waste.  I don’t use bamboo any more.

Aaaaand the backing.  I love the extra-wide fabrics available for backing these days.  Although, you can make some pretty cool pieced backings, too.  Whatever you choose, have it pressed and ready to lay it out.  It doesn’t need to be totally wrinkle free like a dress shirt, but you do want to remove the major creases.  Once you’ve basted your sandwich, any creases will be part of your quilt.

A place to lay out your quilt

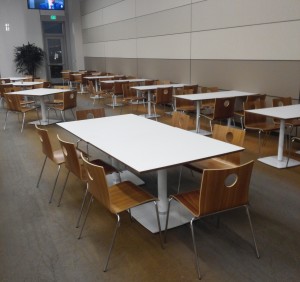
I do not have enough floor space at my home to lay out my quilts, even if I move the furniture around.  So I use the cafeteria at my office.  They have lots of tables that I can push together for a work space, no one is there after the regular work day, and it’s a huge, airy room with great ventilation.

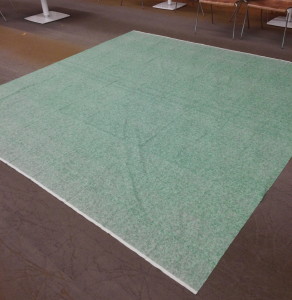
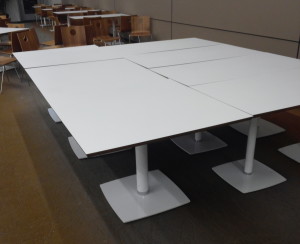
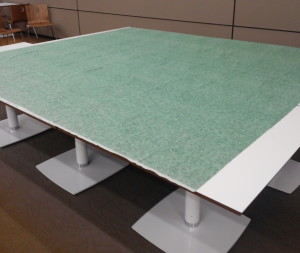
This workspace is too small.

This table is too small.

Today’s blog was inspired by my having two queen sized quilt tops that I needed to baste.  After my regular day at the office, I headed down to the cafeteria and pushed together four tables.  This is usually enough for my full sized or smaller quilts.  But not the queens!  You really want to have a space that the entire quilt top can lay flat and smooth.  But if I put too many tables together, I can’t reach into the middle of the quilt.

Laying out on the floor?

Laying out on the floor?

So, I thought, let’s just lay it out on the floor.  I’ll have to be careful when spraying so that I don’t get adhesive spray on the carpet, but this will be fine.  Um.  No.  As I stood there staring at my backing on the floor, I could just feel the inevitable bruises on my knees.  Nope – I’ll figure out a way to reach the middle of the quilt after I push together more tables.

Push together as many tables as you need.

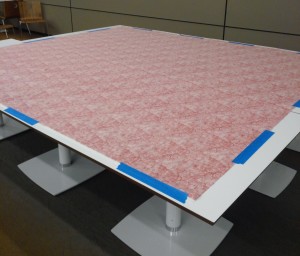
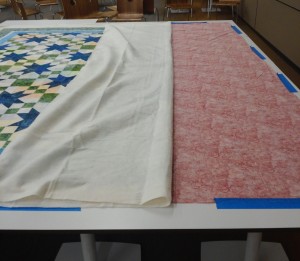
This will work!  So the first step is to lay out the backing on the table, wrong side up.

a better workspace

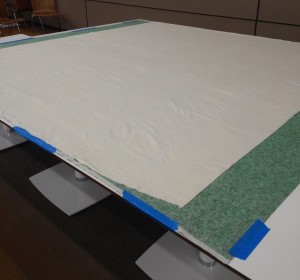
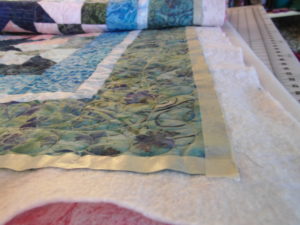
I use blue painter’s masking tape to give a slight stretch to the backing and hold it down.

As a note, different masking tapes have different amounts of sticky on them.  The blue tape has a little less sticky, which is why painters use it.  It is not likely to leave any residue on your fabric.

backing wrong side up, batting on next

backing wrong side up, batting layered on top

Next unfold your batting on top of the backing.  Gently smooth it out, patting it down to eliminate folds.  You do not need to iron your batting.

adhesive already helping to smooth the ripples

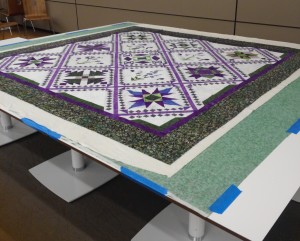
Finally, lay the quilt top, right side up, on top of the batting.  You now have a quilt sandwich!

This is about the only time that I am able to look over my quilt top laying flat like this.  I’m going to take a moment to consider what quilting design/pattern I want to stitch in.  I’m also going to look for any particular faults that will affect my quilting…

What do you with a wobbly border?

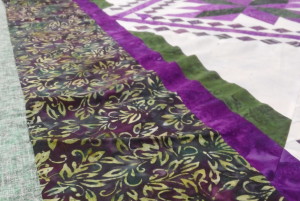
And I can see that I have got some serious wobbles in this border!  Now, if this were a competition quilt, I would stop right here, take it home, and re-work the border.  But this particular quilt is not being made for competition – it’s a block-of-the-month from a local quilt shop.  Since it’s a “kit” quilt, I can’t show it at any national show.  This entire quilt is intended as practice to improve my skills.  Also, I happen to know that I messed up some of the piecing in the seminole sections of the blocks, so I am making an executive decision to just “quilt out” the border wobbles.

“Don’t let perfection be the enemy of good!”

This is a beautiful quilt.  I love the colors and fabric, there is plenty to look at with all the different blocks, and, really, it’s come together very nicely.  I will likely be the only person who ever notices that my borders have a wobble or that some points have been cut off.  I shall continue on and finish!

Carefully fold back about half the quilt top to expose the batting.  Spray your adhesive, following the directions on the can, onto the batting.  Then carefully lay the quilt top back down on top of the sticky batt.  You may want to spray 1/3 or 1/4 at a time.  As you lay the top down, gently smooth it down from the center out.  No wrinkles allowed!  This is why I was concerned about the table being so deep that I cannot reach the center.  For tonight, I used my coat to swat down the center area that I couldn’t reach.  When I got to my wobbly borders, I did some gentle pulling and adjusting and smoothing to minimize wrinkles.

One of these days I’m going to invent a gadget that will allow quilters to easily baste a big ol’ turkey of a quilt top, but will fold up and store out of sight. 

I’m going to call it,”The Turkey Baster”.

After you have adhered the top to the batting, you’ll repeat the process by folding back the top/batt and spraying the backing.  This step goes a little faster since you aren’t adjusting the top any more.  Still smooth it down from the center out.

2015 BOM

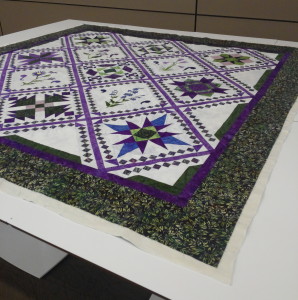
My final step is to trim away the excess batting and backing to within a couple inches of the quilt top.  This isn’t necessary, but, hey, I was taking pictures for posterity and thought it looked neater.  The wobbles are hardly noticeable now.

On to the second quilt of the night!

20160331_204518

Backing taped down.

layer it up

Layer it up.

fold back to spray adhesive

This time I got a picture when I was folding it back for spraying.

Under the Stars

And now I have a trimmed, basted quilt sandwich.  This is a very traditional quilt pattern.  I am pleased with how it is looking so far.  I will likely show this one at the local county fair this coming July.

The last step of basting is to return the cafeteria to its previous state – or better.  I generally wash down the tables so that I don’t leave behind any stickiness from the spray.

Always leave a space neat and tidy.

Always leave a space neat and tidy.

Check back to see these quilts when they are finished!  They should be all done within a few weeks.